WS-Security Asymmetric Binding Policy
Learn about the WS-Security Asymmetric Binding Policy.
For information about using policies in the context of the Community Manager developer portal, see Business Policies.
Table of Contents
- About the WS-Security Asymmetric Binding policy
- Creating a WS-Security Asymmetric Binding policy
- Activating a policy
- Attaching a policy
- Use case: Using the Grid Cache Service with the WS-Security Asymmetric Binding Policy
About the WS-Security Asymmetric Binding policy
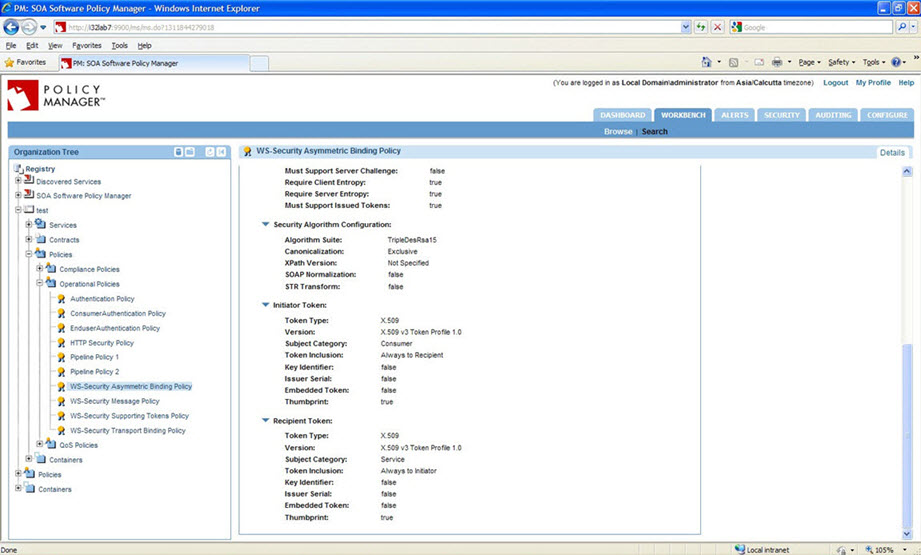
The WS-Security Asymmetric Binding policy provides support for the Asymmetric Binding Assertion. Asymmetric binding is suited for when both parties (client and service) possess security tokens. For example, if both parties possess X.509 certificates, an asymmetric binding is used where the initiator or client uses its private key to sign and the recipient’s public key to encrypt. The Recipient or the Web service uses its private key to decrypt, and the initiator's public key to verify the signature.
Asymmetric binding allows defining tokens used by the initiator and the recipient using Initiator Token and Recipient Token properties. These are properties specific to asymmetric binding.
Creating a WS-Security Asymmetric Binding policy
The first step in creating a policy is to define the basic policy information.
To add an operational policy
- Go to Workbench > Browse > Organization, and select Policies > Operational Policies. The Policies Summary is displayed.
- Click Add Policy.
- Choose the policy type and click Next.
- Specify a name (required) and description (optional) and click Finish. At the Completion Summary, click Close. The Add Policy Wizard creates a draft policy instance that you can then configure on the Policy Details page.
For more information, see Add Policy.
Activating a policy
When you create and configure a policy, the policy is in Draft state. When the policy configuration is complete, activate the policy: click Activate Policy and then confirm. See Activate a Policy.
A policy in Draft state is not available for general use. Once you activate the policy, it is in Active state and is available for use.
Attaching a policy
To use the policy, go to the Policies folder in the respective organization and attach the policy to a web service, binding, or binding operation.
Use case: Using the Grid Cache Service with the WS-Security Asymmetric Binding Policy
This section provides an illustration of how to use the grid cache service with the WS-Security Asymmetric Binding Policy.
In the Akana Administration Console:
- Log in to the Akana Administration Console and go to Configuration > Configuration Categories.
- Perform the required steps for using the Grid Cache Service: see Configuring the Akana grid services framework.
Note: For the WS-Security Policy, the Network Director automatically uses the grid cache service if you enabled the grid and TCP options in Configuring the Akana grid services framework.
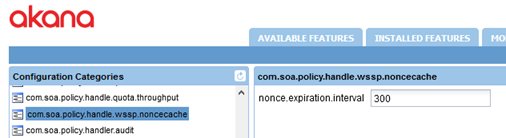
- Optional: go to com.soa.policy.handle.wssp.noncecache to set the value for the nonce.expiration.interval property, as shown below, and save the changes. This property determines the number of seconds that a nonce value is stored in cache.
In Policy Manager:
- Launch the Policy Manager Management Console and create a physical service.
- Virtualize this physical service and host it on Cluster with at least two Network Director (ND) nodes.
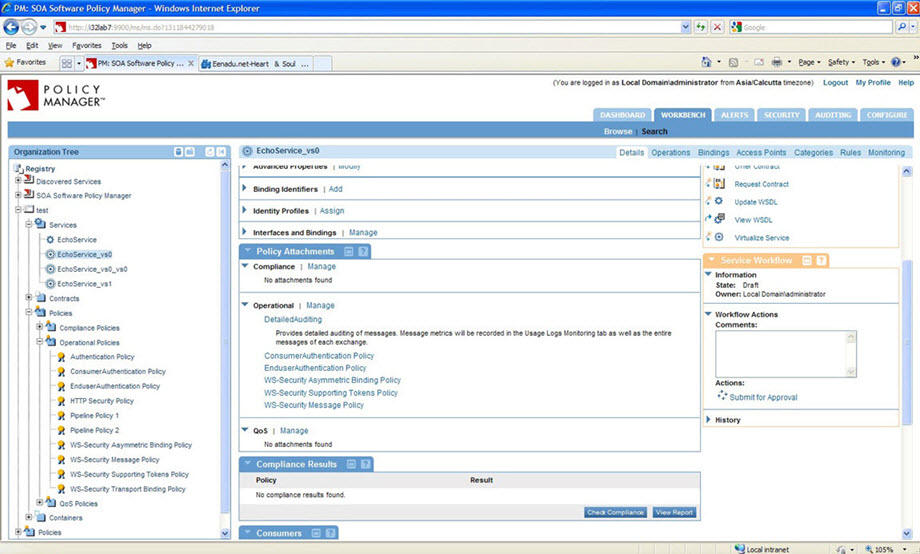
- Assign Detailed Auditing, Consumer Authentication, Enduser Authentication, WS-Security Asymmetric Binding, WS-Security Supporting Tokens and WS-Security Message Policies to virtual service. For specific policy configurations, see below.
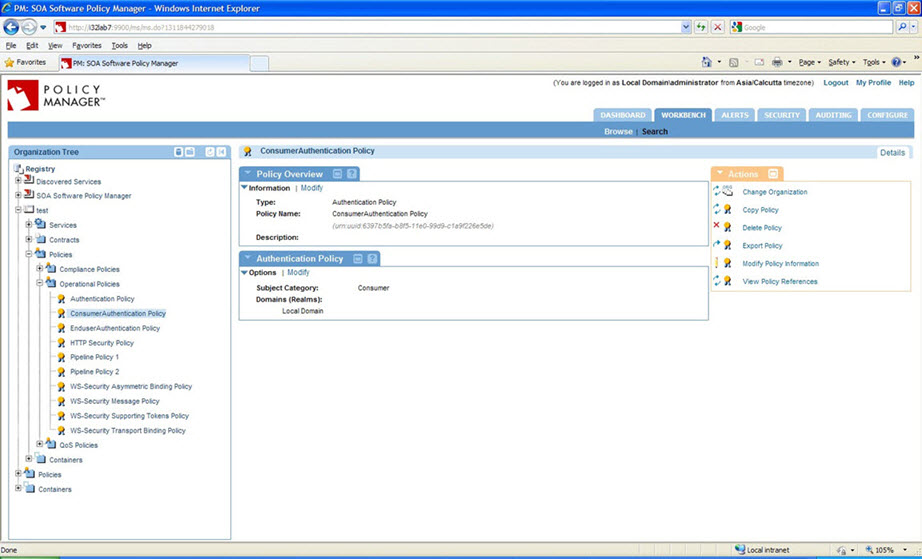
Consumer Authentication Policy Configuration:
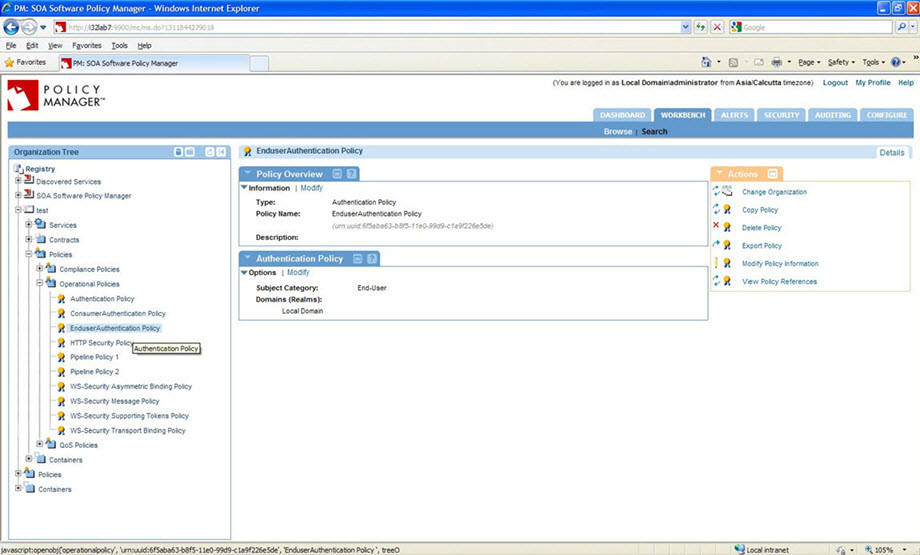
End-user Authentication Policy Configuration:
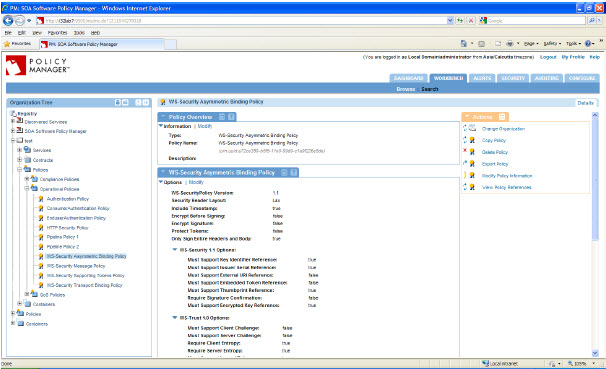
WS-Security Asymmetric Binding Policy Configuration:
WS-Security Supporting Tokens Policy Configuration:

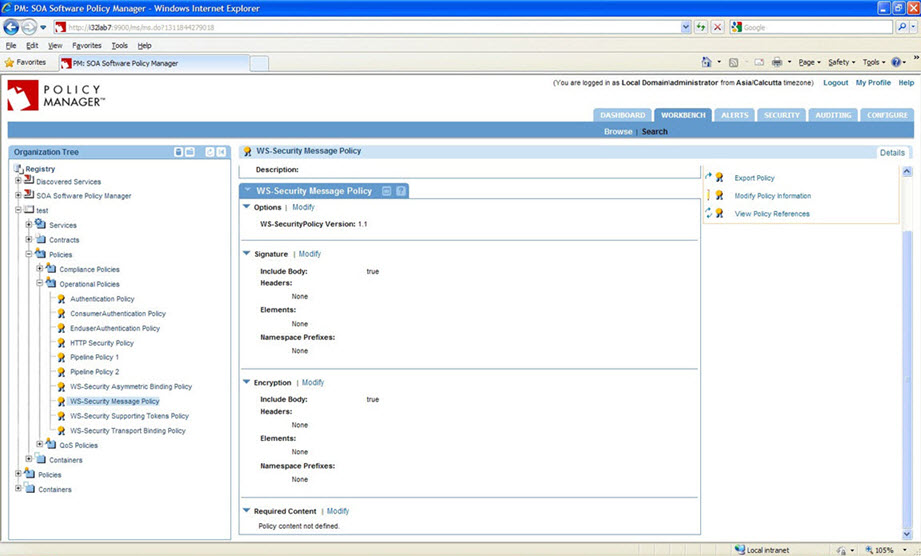
WS-Security Message Policy Configuration:
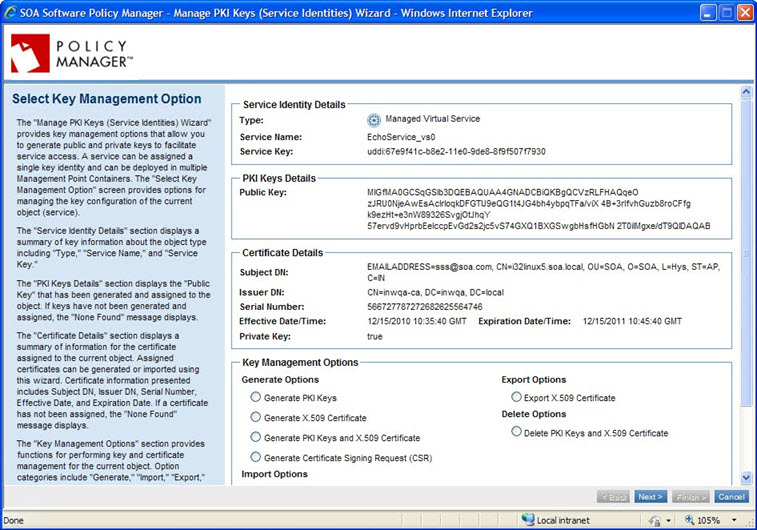
- Assign PKI keys and certificate to the virtual service:
- Assign Detailed Auditing, Consumer Authentication, Enduser Authentication, WS-Security Asymmetric Binding, WS-Security Supporting Token and WS-Security Message Policies to the virtual service.
- Create a project in a client, such as SoapUI, using the virtual service WSDL URL.
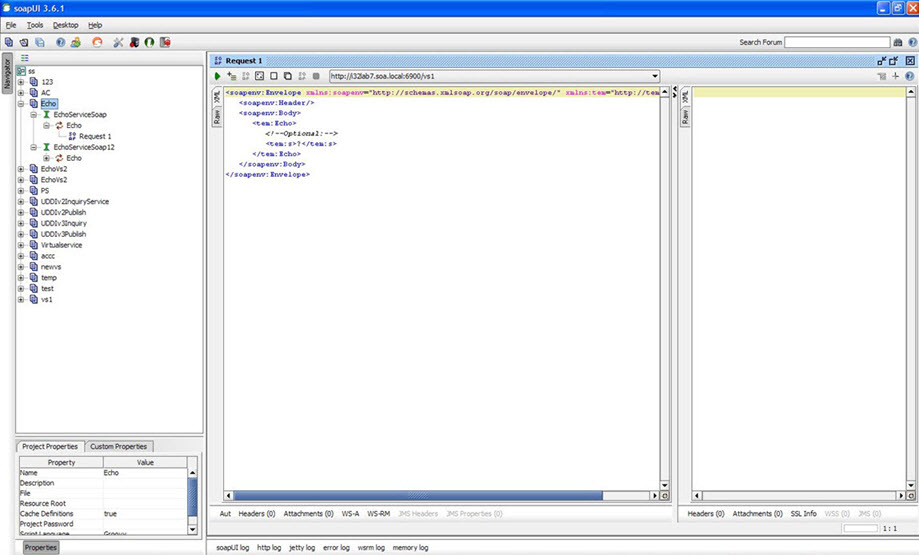
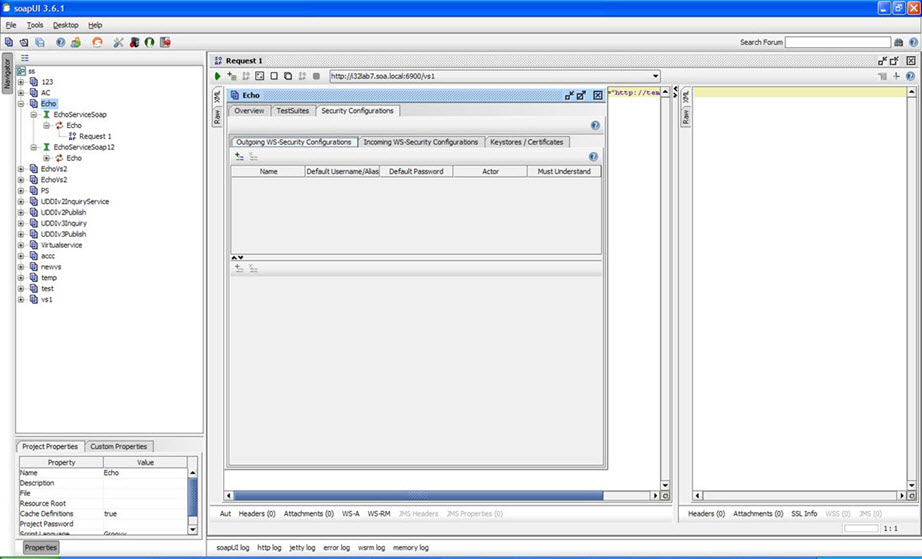
- Double-click a project (for example, Echo).
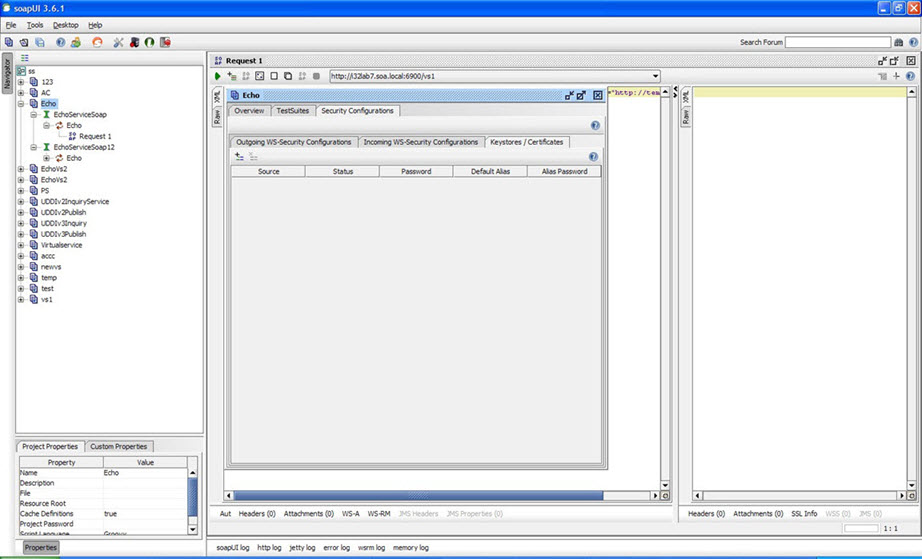
- Navigate to Security Configurations > Keystores/Certificates.
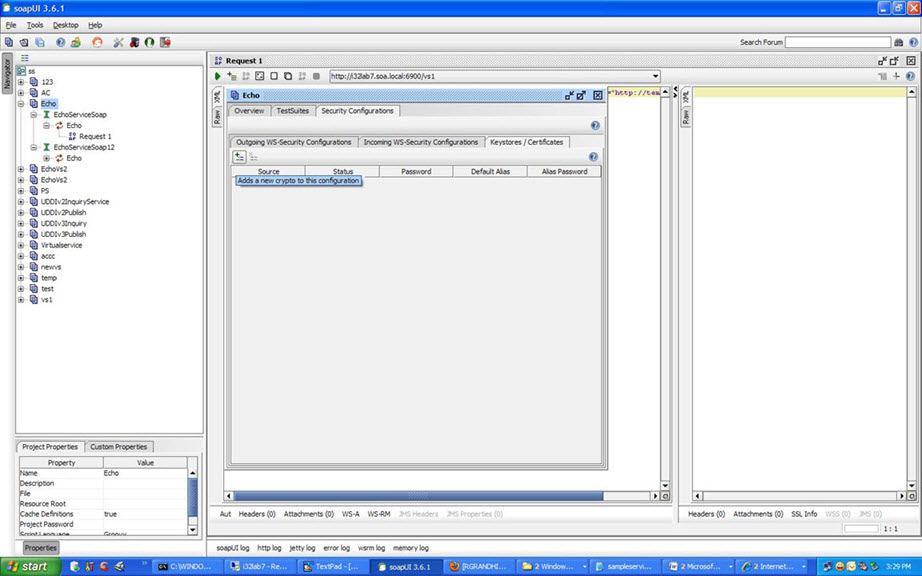
- Click Adds a new crypto to this configuration.
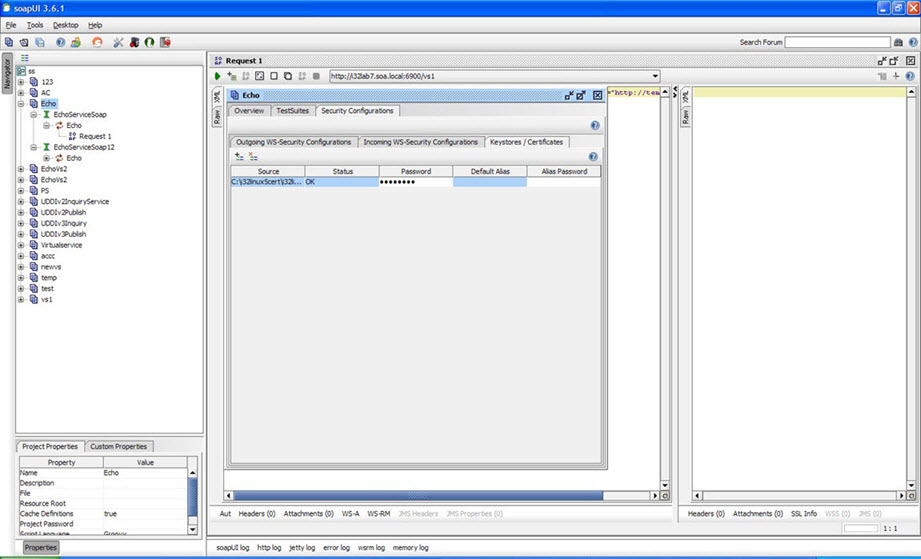
- Assign a valid jks.
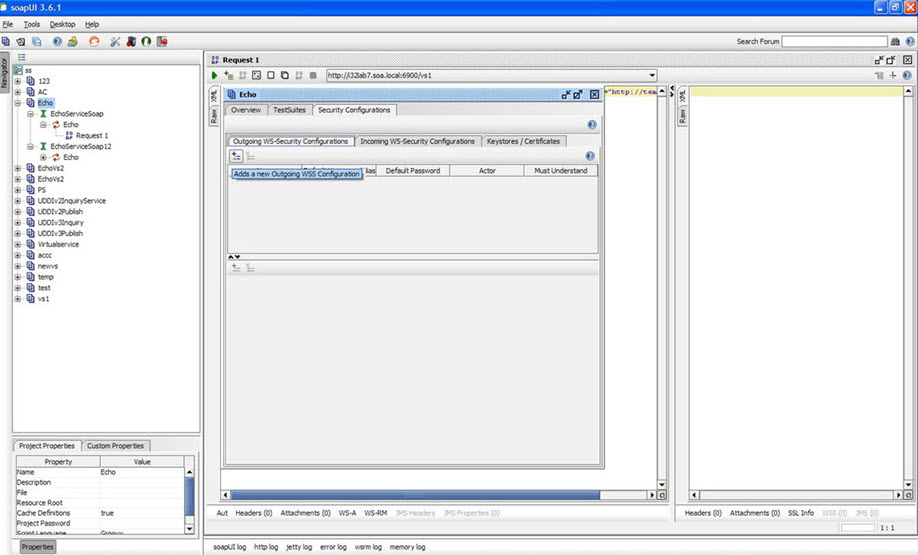
- Click Outgoing WS-Security Configurations.
- Click Adds a new Outgoing WSS Configuration.
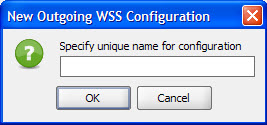
- Enter unique name.
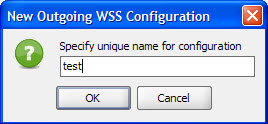
- Click OK.
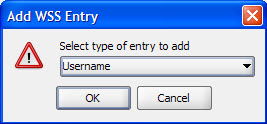
- Click Adds a new WSS Entry.
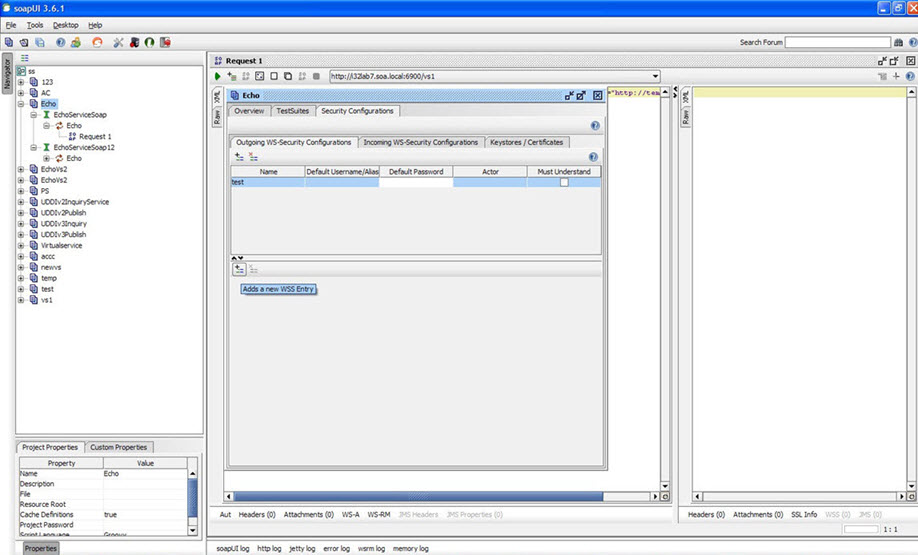
- Select Time stamp and click OK.
- Enter time to live as 300 milliseconds.

- Click Adds a new WSS Entry.
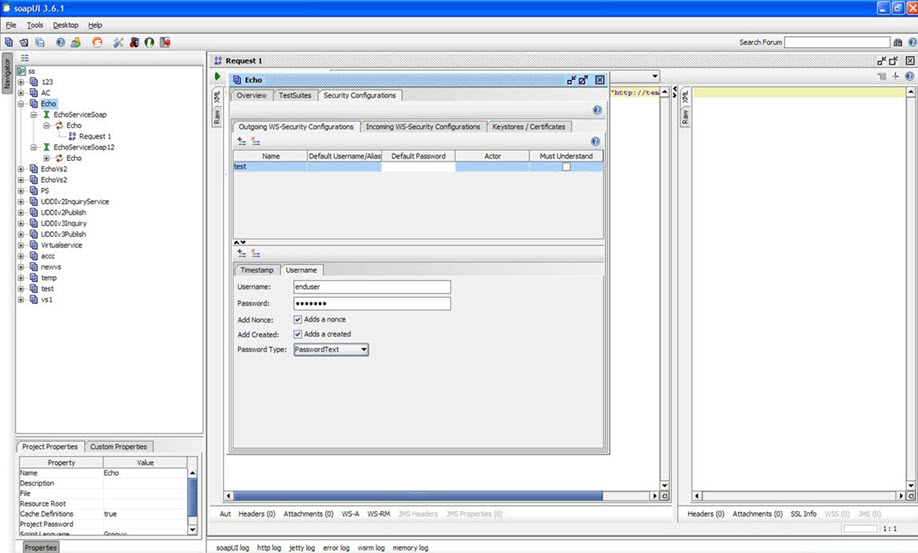
- Select WSS Entry type as Username and click OK.
- Configure Username as shown below.
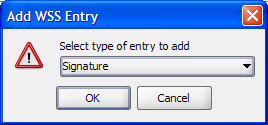
- Click on Adds a new WSS Entry.
- Select WSS type as Signature and click OK.
- Configure signature as shown below.
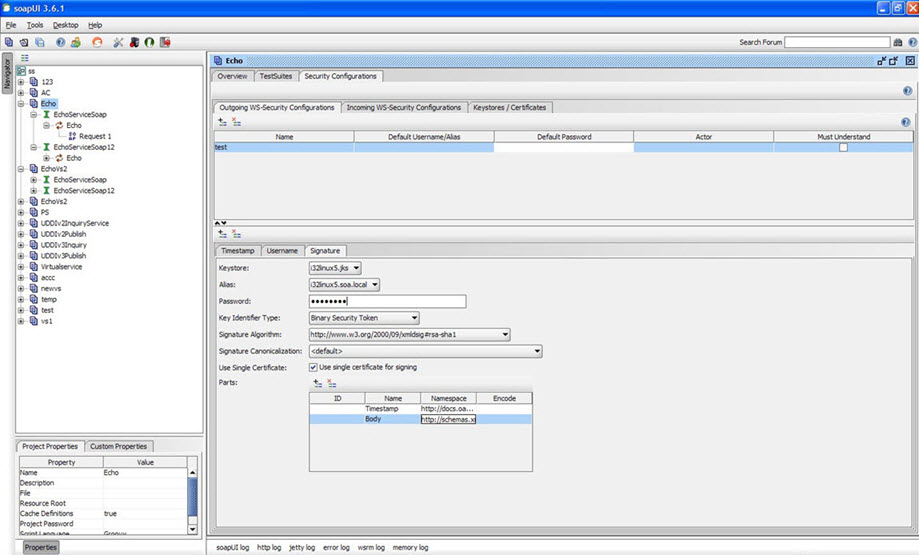
- Name: Name space
- Timestamp: http://docs.oasis-open.org/wss/2004/01/oasis-200401-wss-wssecurity-utility-1.0.xsd
- Body: http://schemas.xmlsoap.org/soap/envelope/
- Click New WSS Entry.
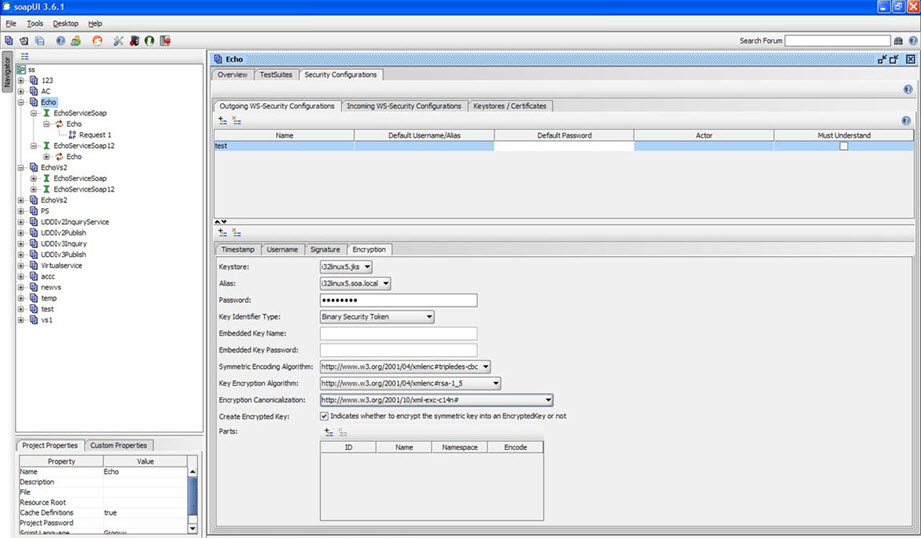
- Select WSS type as Encryption and click OK.

- Configure Encryption as shown below.
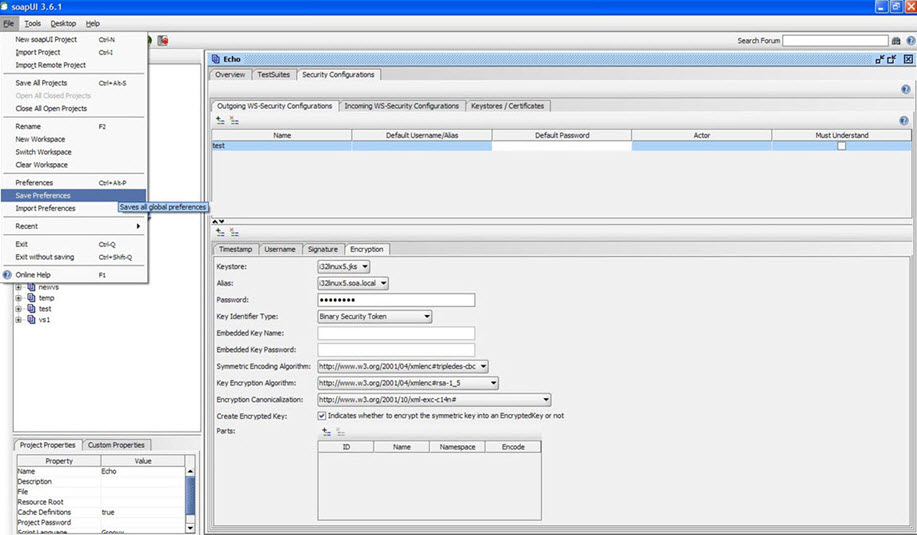
- Save preferences.
- Select test in Outgoing WSS and send a request to the virtual service.
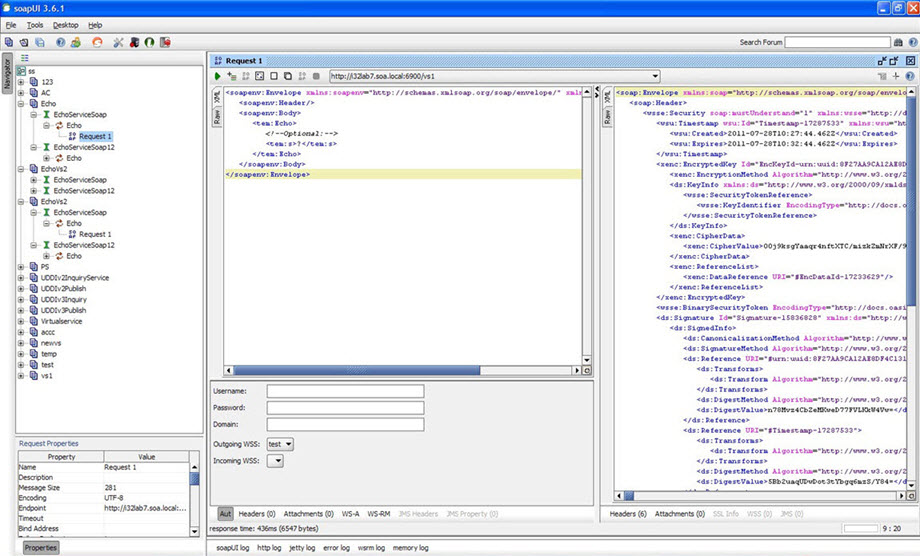
The request is processed successfully. You can see the recorded message tab, as shown below.
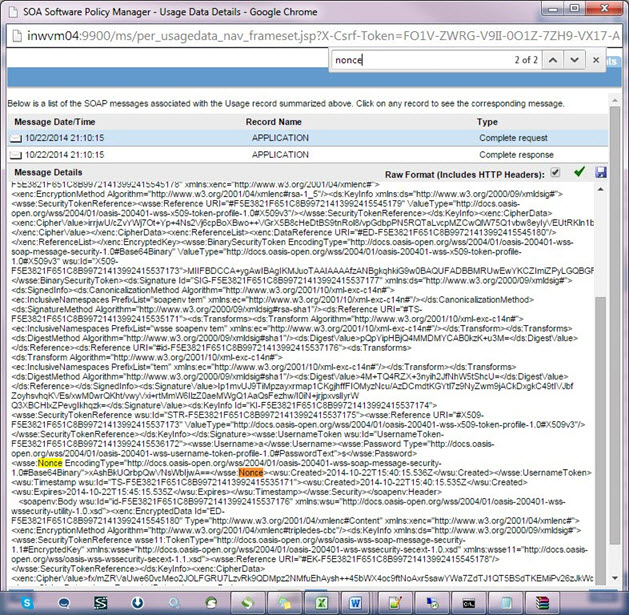
- Verify that the wsse:Nonce header passed through the request. Similarly, view any continuous requests and make sure that the tokens are unique for various Network Director nodes.


